
Drylining is a popular method for creating smooth, finished walls quickly and efficiently. However, even experienced professionals can make mistakes during drylining, leading to subpar results. In this post, we will explore some common drylining errors and provide valuable tips from experts on avoiding them. By following these guidelines, you can ensure a successful drylining project with professional-looking results.
Insufficient Planning and Measurement
One of the most crucial steps in drylining is proper planning and accurate measurement. Failing to plan adequately can lead to wasted materials, delays, and even compromised structural integrity, and potentially having to buy more drylining supplies. Take the time to measure and mark the drylining boards’ layout carefully. Ensure that electrical outlets, switches, and other fixtures are properly accounted for. Doing so will avoid costly mistakes and ensure a seamless installation process.
Inadequate Surface Preparation
Another common mistake is neglecting proper surface preparation before installing the dry lining. Failing to clean and prepare the wall surface can result in poor adhesion and an uneven finish. Start by removing any loose debris, wallpaper, or flaking paint. Repair any cracks or holes and sand down rough surfaces. It’s also essential to prime the wall surface to improve adhesion and promote a smooth, professional finish. Remember, the quality of the surface preparation directly affects the final result, so invest time in this critical step.
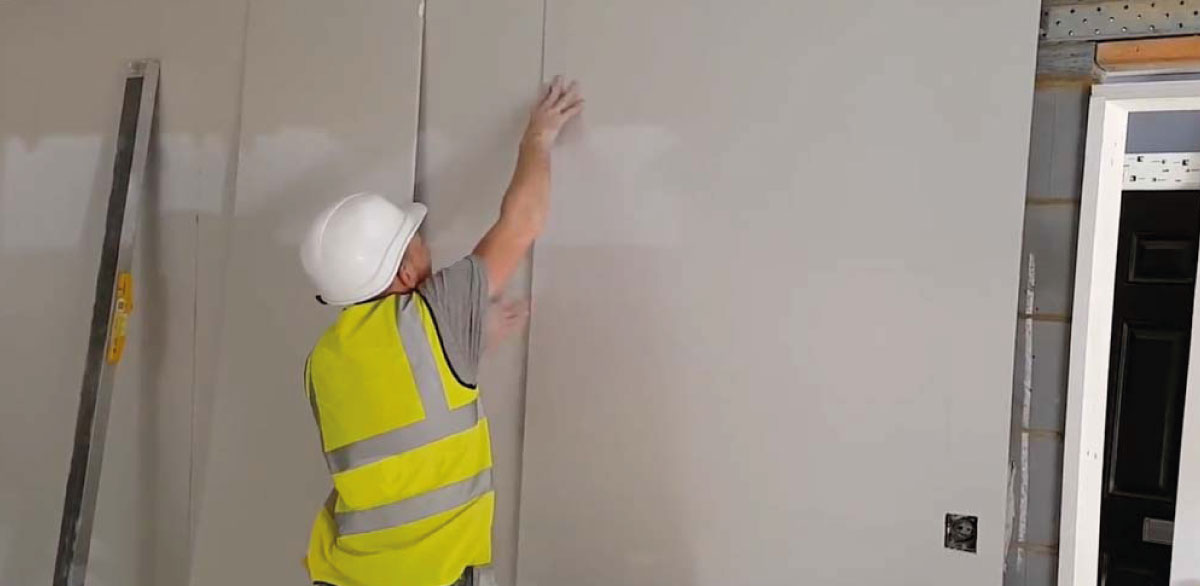
Improper Jointing and Taping
Achieving seamless joints between drylining boards is essential for a professional-looking finish. A common mistake is not properly applying jointing compound and tape. When joining boards, ensure that the tapered edges are correctly aligned and secure them tightly with screws. Apply the jointing compound evenly to cover the joint and embed the self-adhesive jointing tape. Smooth out any excess compound and feather the edges for a seamless transition. Properly executed jointing and taping techniques will eliminate visible seams and cracks, giving your walls a polished appearance.
Neglecting Soundproofing and Insulation
Drylining enhances your walls’ aesthetics and offers an opportunity to improve soundproofing and insulation. Failing to address these aspects can result in subpar performance. Consider using acoustic insulation materials within the wall cavity to minimize sound transmission between rooms. Additionally, install a vapour barrier if necessary to prevent moisture issues. You can create a more comfortable and energy-efficient living or working environment by addressing soundproofing and insulation during the drylining process.
Rushing the Finishing Process
Patience is key when it comes to the finishing process of drylining. Rushing through this stage can lead to visible imperfections, such as uneven or patchy surfaces. Take the time to sand the jointed areas and apply multiple thin coats of high-quality finishing plaster. Allow sufficient drying time between each coat and sand lightly for a smooth, flawless finish. By taking a meticulous approach to finishing, you’ll achieve professional results that will enhance the overall appearance of your walls.
Drylining can be rewarding and efficient for achieving smooth, finished walls. However, it is important to be aware of common mistakes and take the necessary precautions to avoid them. By following the tips provided by the experts, you can ensure a successful drylining project with impeccable results. Take your time, pay attention to detail, and enjoy the satisfaction of beautifully transformed walls.